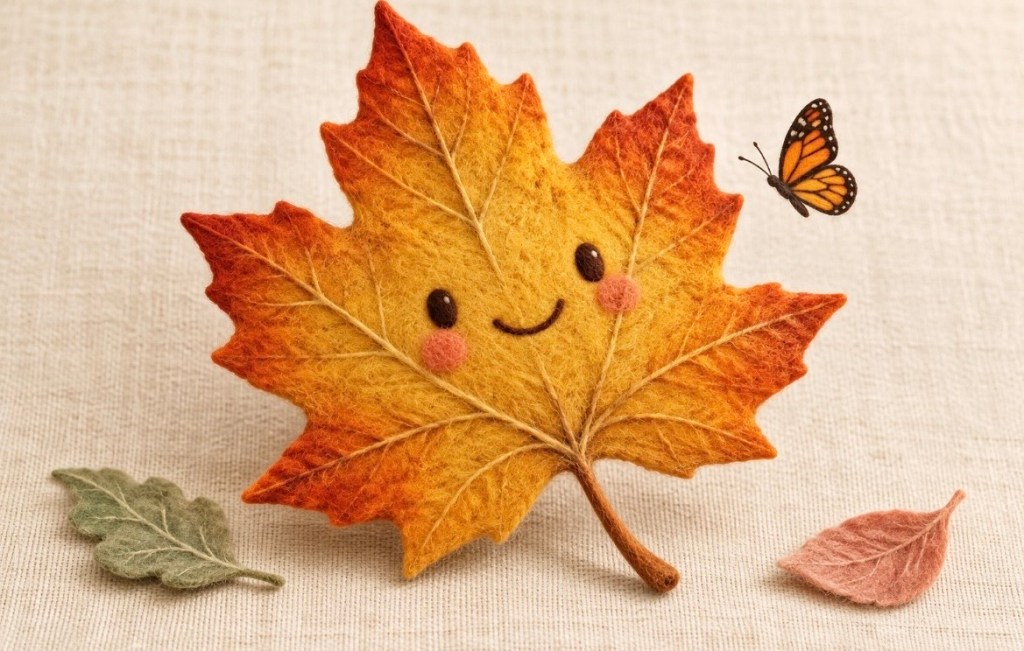
Fall is one of my favorite times of the year. There’s a slight chill in the air, but the sunshine still finds its way through. Leaves drift gracefully from the trees, creating the most beautiful golden walkways. Pulling on a warm sweater seems to comfort the soul, and the calendar begins to fill with pumpkin patches, fall festivals, and little celebrations leading us into the holiday season.
There’s such a beautiful feeling to fall. Golden yellows, bright oranges, and deep reds bring one last burst of color between the dry days of summer and the quiet, subdued months of winter. It’s the perfect time to let those colors inspire a little creativity.
One of my favorite ways to spend an autumn afternoon is to put on some fun kids’ music (or a playful Halloween playlist 🎃) and gather everyone around the table. I cover the table, place the supplies in the middle, and let the kids have at it!
A few pumpkins, some colorful leaves, and a little imagination can turn an ordinary afternoon into something special. The best part about these activities is that they are fun for a wide range of ages! Here are three simple crafts to try together this season.
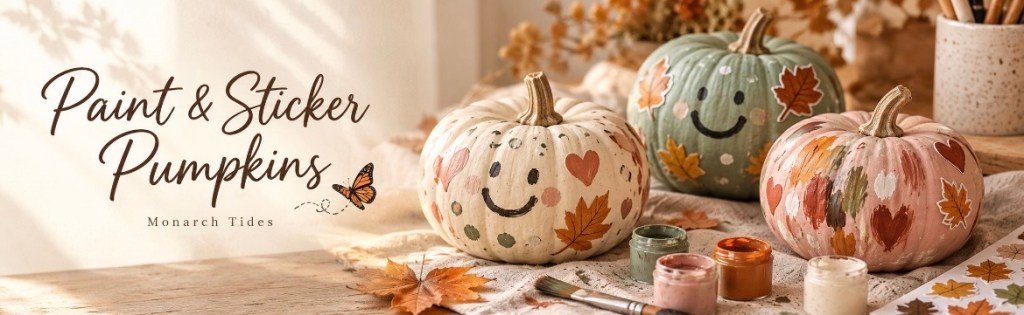
1. Paint & Sticker Pumpkins
Little pumpkins make the sweetest blank canvases. Each child can choose their own colors, add a funny face, or cover their pumpkin in autumn leaves. It’s fun to see what creativity the kids come up with!
What you’ll need
- Small pumpkins
- Child-safe craft paint labeled for use on the chosen surface
- Paintbrushes or sponge brushes
- Fall-themed stickers
- A paint tray or paper plate
- A table covering and clothes that can get messy
How to make them
- Wipe the pumpkins clean and let them dry completely.
- Set out the paint and let each child decorate their pumpkin. They can paint the whole pumpkin, add dots and stripes, or make little leaf designs.
- Let the paint dry fully before adding stickers. Drying time will depend on the paint and how thickly it’s applied.
- Add leaf stickers, cheerful faces, or whatever little details make them smile. Press stickers onto the smoother areas so they stay in place.
- Display the finished pumpkins on a protected shelf or table where everyone can enjoy them.
A little tip: Washable paint makes cleanup easier, although it may rub off or stick poorly to a pumpkin’s waxy skin. Test a small spot first and keep these decorations indoors.
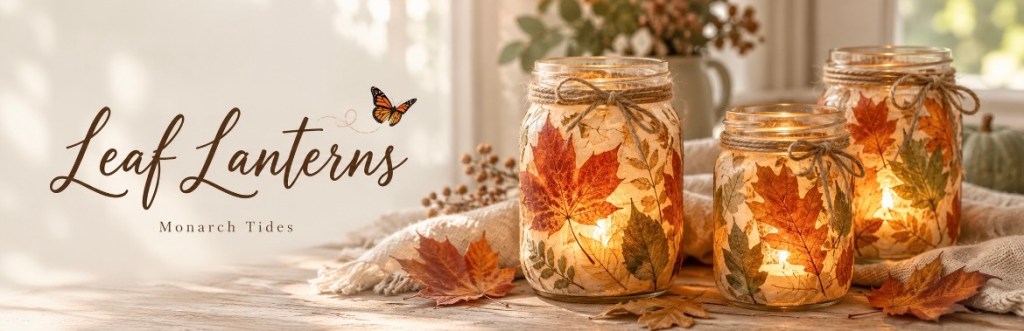
2. Glowing Leaf Lanterns
These little lanterns bring a bit of the autumn outdoors into your home. Gathering leaves can become part of the activity too! A short walk to look for favorite colors before heading back inside to create.
What you’ll need
- Clean, dry glass jars with smooth, chip-free edges
- Thin fallen leaves, pressed flat and dry
- Water-based decoupage glue
- Foam brushes
- Battery-operated LED tea lights
- Optional twine for the jar rims
How to make them
- Gather thin, flexible leaves. Press them between sheets of paper under a heavy book until flat and dry. Thick, curled, or brittle leaves are harder to attach.
- Brush a thin layer of decoupage glue onto the outside of a jar.
- Gently press a leaf into the glue, then brush another thin layer over it, smoothing the edges carefully.
- Repeat around the jar, leaving little spaces for the light to shine through.
- Let the glue dry completely according to the label. Add twine around the rim if you’d like.
- Place an LED tea light inside and enjoy the warm autumn glow.
A little tip: Thin tissue-paper leaves also work well if your collected leaves won’t lie flat. Use battery lights with secure battery compartments, and have an adult handle the glass jars. These lanterns are for LED lights only.
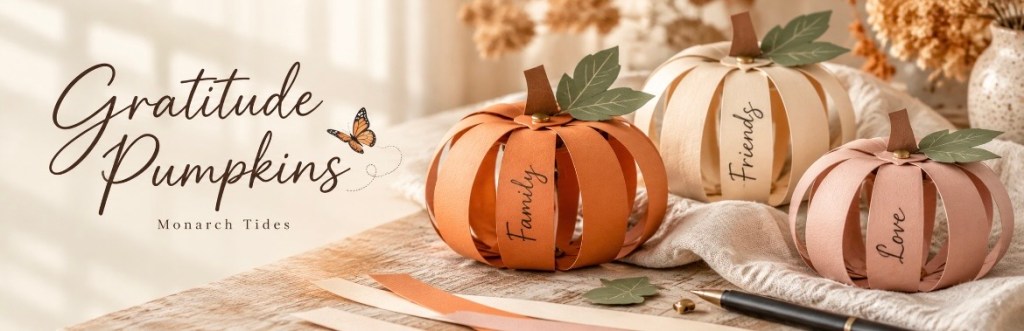
3. Gratitude Pumpkins
This craft gives us a chance to slow down and talk about the things that make our lives feel full. The answers can be big or small: family, a favorite pet, a friend at school, or even the pancakes we had for breakfast.
There’s something especially sweet about seeing what comes to mind for each child.
What you’ll need
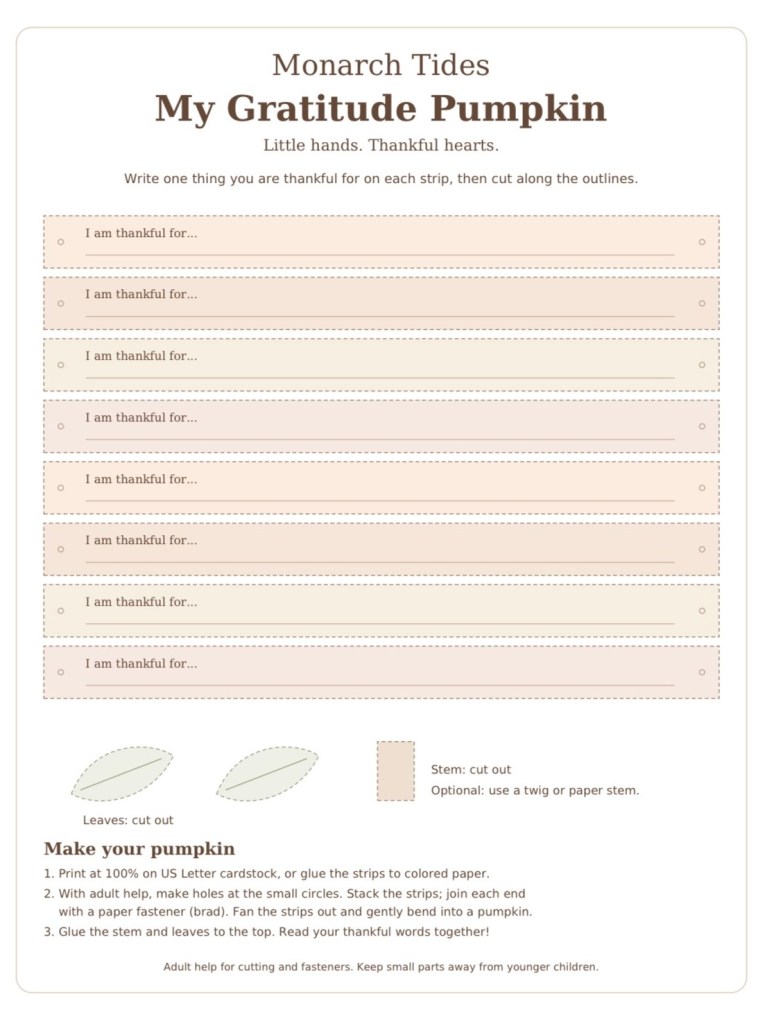
- The Monarch Tides Gratitude Pumpkin Printable (included at the bottom of this blog post!)
- Letter-size cardstock, or paper backed with colored cardstock
- Crayons, markers, or a pen
- Scissors and a small hole punch
- Two paper fasteners, also called brads
- Glue for attaching the stem and leaves
How to make them
- Print the template at 100% / actual size so all eight strips stay the same length.
- Have the kids write or draw something they’re thankful for on each strip. Younger children can tell you their answers while you help write them down.
- Cut out the strips, leaves, and stem. With adult help, make a small hole at each marked circle.
- Stack the strips with the writing facing the same direction. Put a paper fastener through the holes at each end and open its prongs to secure the stack. Leave enough room for the strips to swivel.
- Gently bow the strips outward and fan them around into a hollow, rounded pumpkin, keeping the thankful words on the outside.
- Glue the stem and leaves near the top fastener, then let them dry.
A little tip: Read the answers together before putting your pumpkins on display. Keep fasteners and other small supplies away from younger children.
Download the accompanying Monarch Tides Gratitude Pumpkin Printable and make a pumpkin of your own!
A Little Mess, a Little Autumn Magic
The pumpkins might have more stickers than paint. The leaves might overlap, and someone’s thankful answer might make everyone laugh. Those little details are what make the afternoon yours.
For me, the best part is gathering around the table, listening to the kids’ ideas, and giving everyone room to create something in their own way. When we’re finished, we have a few new decorations and a little piece of that afternoon to keep around the house.
Put on a favorite playlist, pull up a chair, and see what those little hands dream up!


Leave a Reply